Video to Video AI Generator
Transform existing footage with new styles, cleanup passes, and shot-level polish while keeping motion, timing, and edit rhythm closer to the source clip.
Video-to-video is the right workflow when the shot already exists but the look, finish, or visual energy needs to change. Start from a real clip, then push it toward a cleaner, more cinematic, more stylized, or more platform-ready result without rebuilding the scene from zero.

Try Video-to-Video in the Playground
Upload a source clip, add clear style or cleanup direction, and test how far you can push the look while keeping motion continuity intact.
How Video-to-Video Works
The workflow is simple: keep the shot that already works, define what should change, then refine until the output feels intentional rather than over-processed.
Start from footage that already has the right timing, blocking, or camera move. Video-to-video is strongest when the structure of the shot is already worth keeping.
Prompt for the exact change you want: cinematic relighting, anime-style treatment, texture cleanup, sharper subject separation, or a stronger social-ready look.
Review whether motion continuity, subject identity, and frame-to-frame coherence still hold up. Then refine style intensity, contrast, or prompt specificity instead of rewriting the whole request.
What You Can Do with Video-to-Video
These are the clip-to-clip controls that matter when a usable source shot needs a different finish instead of a brand-new generation pass.
Restyle Existing Footage Without Rebuilding the Shot
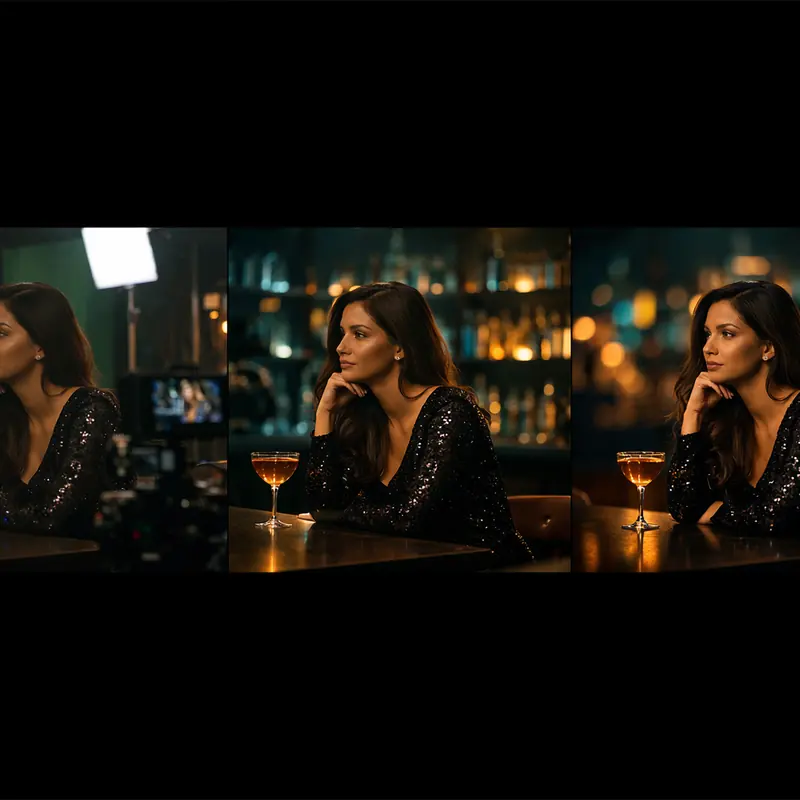
Keep the original timing and movement, then push the clip toward a new visual language such as cinematic drama, stylized illustration, moody nightlife, or premium product polish.
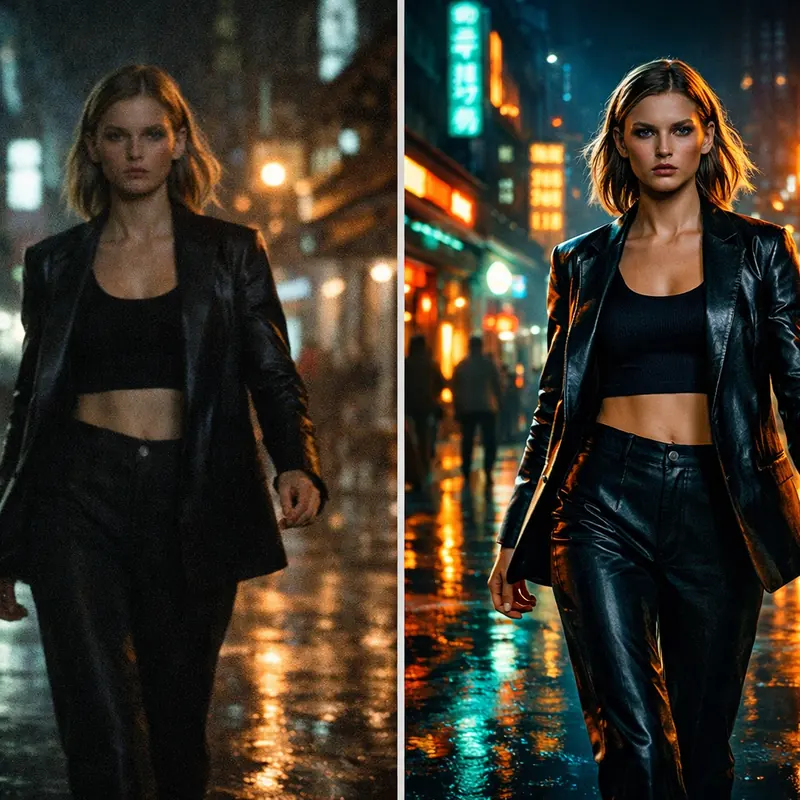
Clean Up Flat or Noisy Clips for a More Finished Look
Use video-to-video to improve lighting feel, contrast, texture clarity, and overall visual confidence when the source video looks usable but not presentation-ready yet.
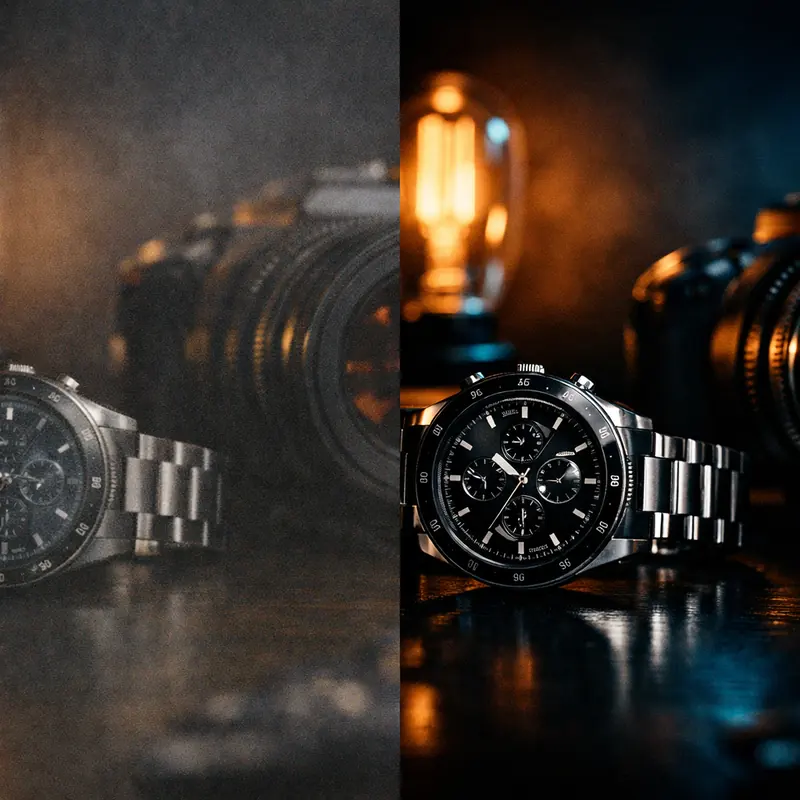
Keep Motion Continuity Better Than Starting from Scratch
Because the source clip already contains blocking, pacing, and movement, the model can follow the original scene structure more closely than a prompt-only workflow.
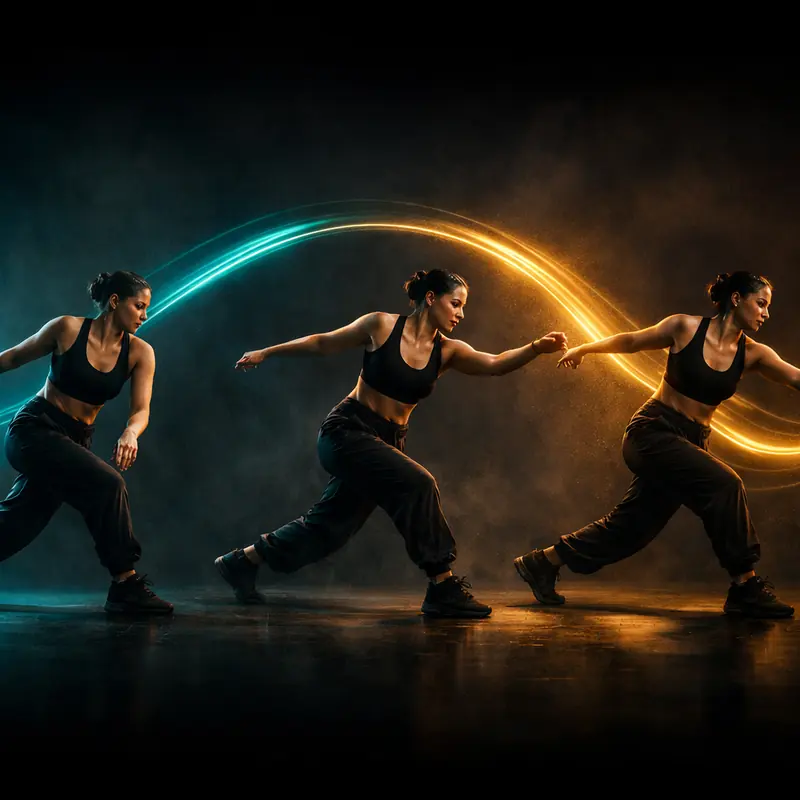
Turn Rough Drafts into Stronger Social or Campaign Assets
Take creator footage, product demos, motion tests, or storyboard clips and convert them into sharper brand visuals for paid social, launch pages, or internal reviews.
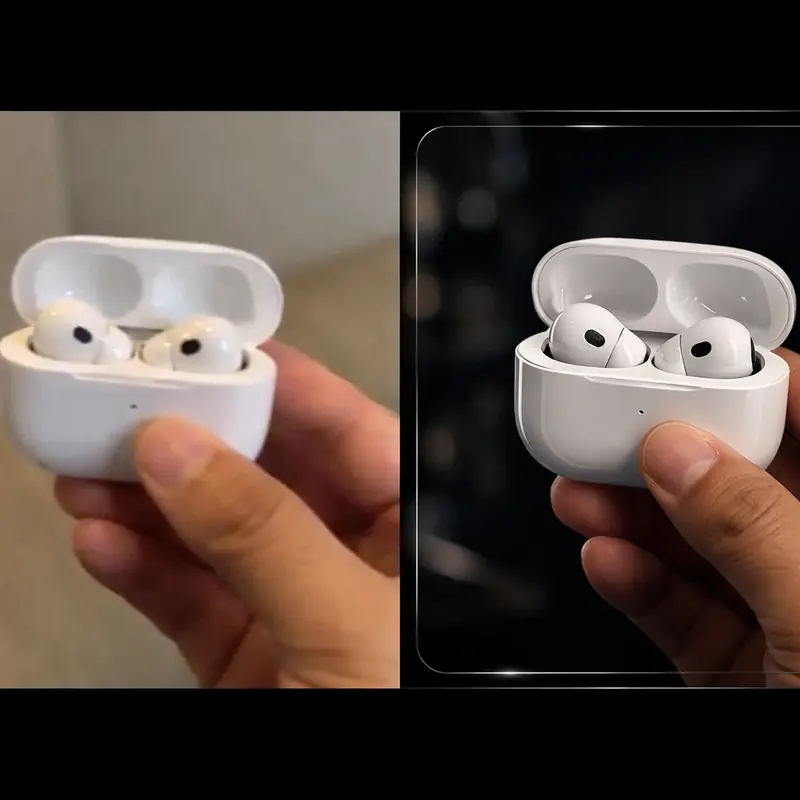
Why Teams Choose Video-to-Video
The value is not only visual transformation. It is faster iteration when the clip structure is already there and only the finish needs to improve.
Faster Upgrades from Real Footage
Instead of reshooting or rebuilding the scene from prompts, teams can use the clip they already have and focus on improving look, polish, and consistency.
Who it is for
Creators and Editors
Upgrade rough footage, stylize finished shots, or turn raw clips into stronger publishable edits without rebuilding the whole sequence.
Marketing Teams
Remix product demos, launch teasers, and creator assets into more polished campaign visuals while keeping the original edit structure.
Social Content Teams
Adapt working clips into platform-ready variants with stronger lighting, sharper mood, or more branded visual treatment.
Creative Technologists
Prototype before-and-after workflows, stylization concepts, and production shortcuts where continuity matters as much as visual impact.
Use cases
Prompt and workflow guidance
A prompt formula that works
Start with the source clip type, then describe the target finish: subject, visual style, lighting, texture, contrast, color mood, and how strong the transformation should feel. Example: handheld street fashion clip, cinematic tungsten highlights, richer blacks, subtle film grain, luxury editorial finish, preserve camera motion.
When video-to-video beats text-to-video
Choose video-to-video when composition, timing, and motion are already working. It is the better route for footage enhancement, visual remixing, cleanup, and brand adaptation because you are improving a real shot instead of generating a new one.
What to check in the first pass
Review frame-to-frame consistency, subject identity, edge stability, and whether the transformation is too weak or too aggressive. Fix continuity first, then tune style intensity and finishing details.
FAQ
More to explore
More Tools




Upgrade the Clip You Already Have
Bring in an existing shot, define the finish you want, and use the first pass to tune continuity, style strength, and overall polish until the clip is ready to share.